Creating github.io blog with Jekyll
create gihub pages blog
Creating github.io blog with Jekyll
Jekyll is a simple, blog-aware, static site generator with built-in support for GitHub Pages and a simplified build process.
To publish github.io, pretty much follow steps 1 to 11 from HERE
Then follow next steps to render it/ plug it with JEKYLL
Steps
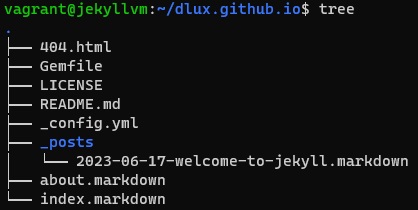
Create blog structure with Jekyll
1 2 3 4 5 6 7 8 9 10
# assume ubuntu linux and podman installed # assume non-root # apt update && apt-get install -y podman # get the image $ podman image pull jekyll/jekyll # create structure $ podman run --rm -e JEKYLL_ROOTLESS=1 -v $(pwd):/srv/jekyll \ jekyll/jekyll sh -c 'chown -R jekyll /usr/gem/ && jekyll new --skip-bundle . --force'- Update _config.yml to include your data
Update Gemfile:
- comment line ‘# gem “jekyll” …’
- uncomment line ‘gem “github-pages” …’
- add line ‘gem “webrick”’
- add plugin ‘gem “webrick”’
- Update about.markdown file with info about your blog
- Update the content of your first post under _posts/ - Default one refers to Jekyll
- Build and visualize your site locally
1
2
3
4
5
6
7
    # build and run webserver
    $ podman run --rm -e JEKYLL_ROOTLESS=1 -v $(pwd):/srv/jekyll \
     -p [::1]:4000:4000 jekyll/jekyll \
     sh -c "chown -R jekyll /usr/gem/ && bundle install && jekyll serve --trace"

    # open your browser
    https://localhost:4000
- If having issues or want to keep running commands - then interact with the container
1
2
3
4
5
6
7
8
9
10
    # open interactive container
    $ podman run -it -e JEKYLL_ROOTLESS=1  -v $(pwd):/srv/jekyll  jekyll/jekyll   -- /bin/bash

    # run commands inside the container
    >097134> ls -la /usr/gem/
    >097134> chown -R jekyll /usr/gem/
    >097134> gem install webrick
    >097134> bundle install
    >097134> jekyll serve --trace
    ...
Dedicated DEV environment
If you prefer to install jekyll and its dependencies on the linux system or a dedicated development vagrant vm (instead of using the containers)
1
2
3
4
5
6
7
8
9
10
11
12
13
14
15
16
17
18
19
20
21
  ## 1. Download my example for Vagrantfile and jekyll_setup.sh
    $ curl -LOk https://raw.githubusercontent.com/dlux/dlux.github.io/refs/heads/main/.devvagrant/Vagrantfile
    $ curl -LOk https://raw.githubusercontent.com/dlux/dlux.github.io/refs/heads/main/.devvagrant/jekyll_setup.sh

    # NOTE: update both files as needed (e.g. versions)
    $ cat Vagrantfile
    $ cat jekyll_setup.sh

  ## 2. Spin up ubuntu vm, setup.sh script will install jekyll and its dependencies
    $ vagrant up

    # Login to the running VM
    $ vagrant ssh

  ## 3. Create initial jekyll structure

    # clone project inside VM
    # e.g. git clone https://github.com/dlux/dlux.github.io.git
    # cd dlux.github.io/

    $ jekyll new --skip-bundle . --force
1
2
3
4
5
6
7
8
9
10
  ## 4. follow the same steps as with podman image:
  ### update files: _config.yml, Gemfile, about.markdown, _posts/2025...post1
    sed -i 's/^gem "jekyll"/# gem "jekyll"/g' Gemfile
    sed -i 's/^# gem "github-pages"/gem "github-pages"/g' Gemfile
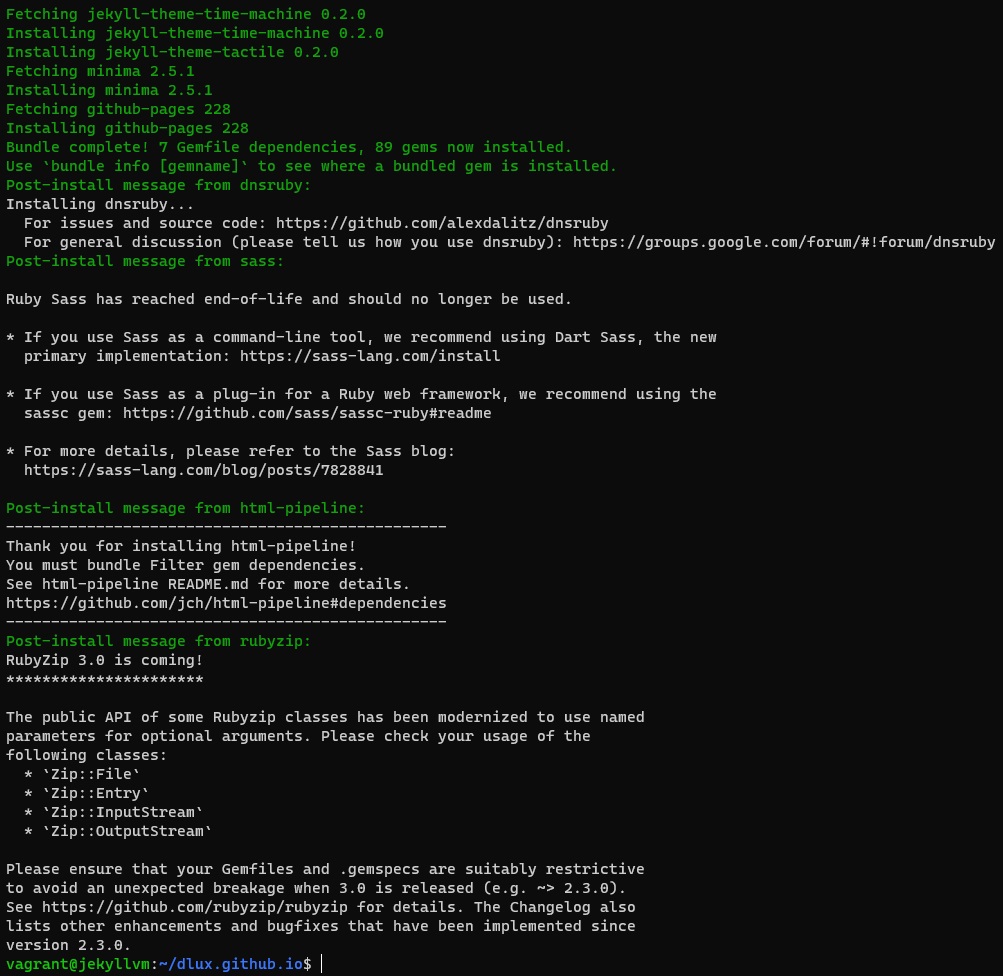
    bundle install
    #gem install github-pages
    #jekyll build
    #bundle exec jekyll serve

    $ jekill serve
References
This post is licensed under CC BY 4.0 by the author.


